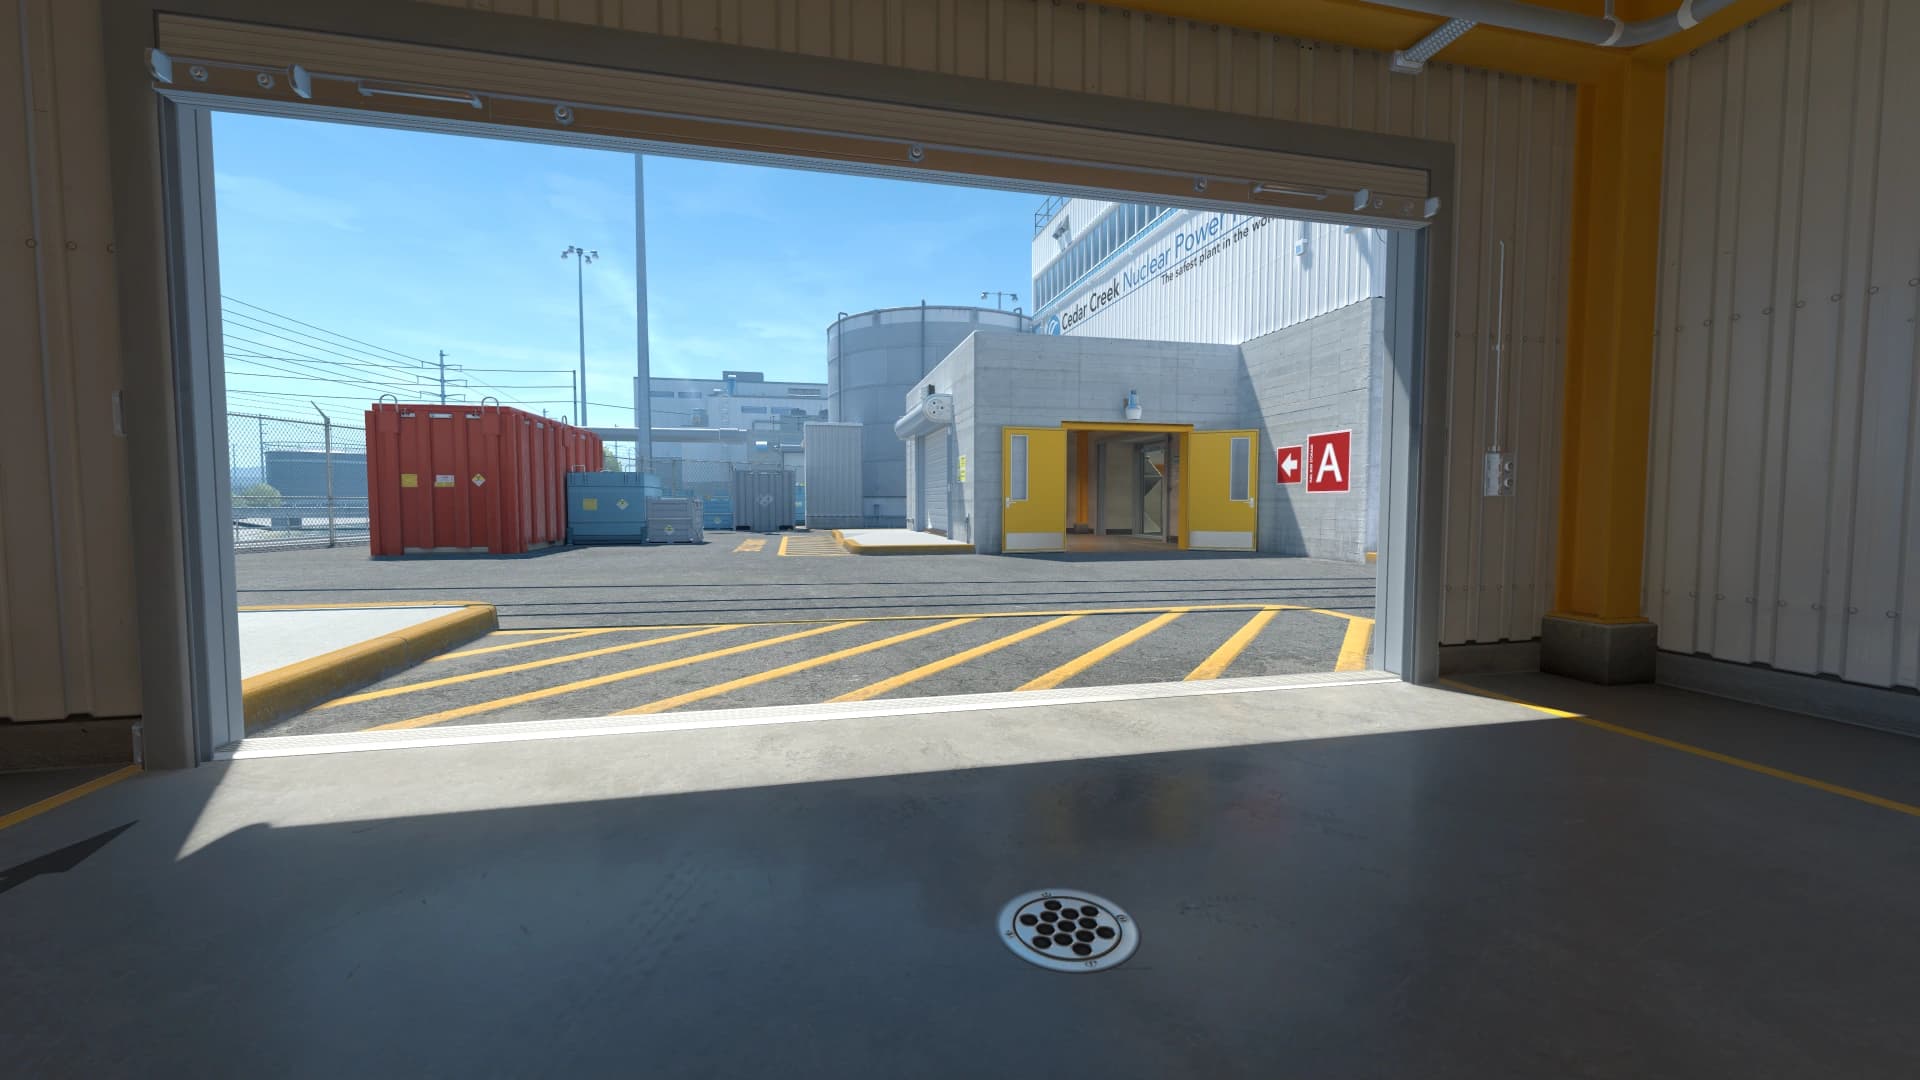
Brightness is only one part
Raising brightness can help some areas but wash out others. Visibility also depends on resolution, monitor color, shadows, crosshair color, and map texture clarity.
Visibility is about recognizing enemies and utility quickly across different maps, lighting, smokes, molotovs, and model positions.
A useful CS2 visibility settings baseline should be easy to describe and easy to repeat. If you cannot explain why a value is there, treat it as temporary until testing proves it belongs.
- Write down the exact CS2 visibility settings value you are testing.
- Compare it against your previous setup before deleting the old one.
Crosshair contrast
A good crosshair color should remain visible against bright walls, dark corners, utility, and enemy models. Test it on multiple maps.
- Judge comfort during real round pressure, not only in a clean preview.
- If the setting creates hesitation, simplify it.
Resolution clarity
Lower resolutions can improve FPS but reduce detail. If enemies become harder to identify, the performance gain may not be worth it.
- Use the same routine every time you compare changes.
- Separate first impressions from results after several sessions.
Test common fight spots
Check visibility at common angles, bombsites, long corridors, and utility-heavy areas. A setting that looks good in spawn may fail in real rounds.
Great visibility is quiet. You see enemies quickly without the whole image looking exaggerated or uncomfortable.
- Keep the final version stable for at least a few play sessions.
- Review it only when you can name the problem you are solving.
Using Visibility Settings in matches
The value of CS2 visibility settings only shows up when it changes what you notice, how confidently you move, or how quickly you can commit to a fight.
- Try it in one full map session before calling it final.
- Watch whether it helps under utility, pressure, and time limits.
- Ask whether it reduces hesitation or creates another thing to manage.
- Keep notes after matches so the next tweak has a clear reason.
Visibility Settings mistakes to avoid
Most problems with CS2 visibility settings come from copying too broadly, judging too quickly, or changing several values at the same time.
- Do not judge the setting from one screenshot or one warmup map.
- Do not change multiple major settings during the same test.
- Do not copy a pro setting if it creates discomfort on your gear.
- Do not delete the old version before the new one is proven.
When to revisit Visibility Settings
Do not rebuild CS2 visibility settings every time you have a bad game. Revisit it when there is a pattern, a hardware change, a resolution change, or a CS2 update that genuinely affects how the game feels.
- Review after hardware, resolution, driver, or CS2 updates.
- Review when the same problem appears across several sessions.
- Avoid emergency changes right before serious matches.
- Archive the previous stable setup before testing the new one.
Visibility Settings checklist
Use this checklist whenever you tune CS2 visibility settings. It keeps the process repeatable and makes future changes easier to understand.
- Test bright, dark, green, grey, and orange-heavy map areas.
- Avoid settings that make utility harder to read.
- Make sure the crosshair remains visible after display changes.
- Check eye comfort during longer sessions.